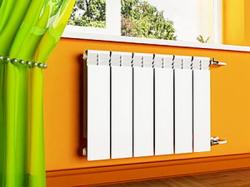
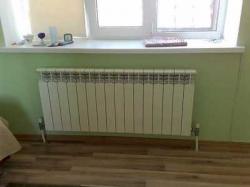
Beautiful design and high reliability are a reason to choose a floor bracket for a heating radiator
Modern floor brackets are well-designed fastening devices designed to fix the heating device to the floor.
They are used as the main or additional fastening element, help to level out the shortcomings of radiators made during casting, perform decorative function.
Fastening to the floor speeds up the installation of heating devices, increases the reliability of the system, and opens up more opportunities for design solutions when planning the interior.
Reasons to choose floor brackets for a heating radiator
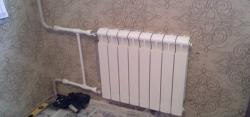
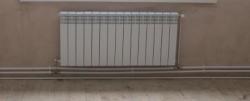
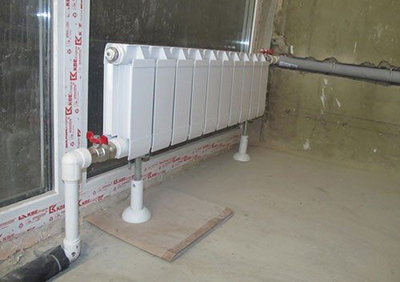
When it is not possible to fix the radiator to the wall, it fixed to the floor anywhere around the perimeter of the room.
In addition, floor fasteners are chosen in the following cases:
- When the walls are covered with plasterboard: the material will not support the weight of the radiator.
- With panoramic glazing: Even tempered glass is not suitable for mounting brackets.
- If there is no suitable place: there is no space provided for installation, the niche under the window is too deep.
- To match the design of the room: The batteries are installed on decorative legs or mounted on a podium.
- For heating radiators with large mass: To strengthen the fastening system, they are attached to the floor and to the wall.
Floor fixation allows heat exchangers to be installed in rooms of any size and layout. This solution is often used with non-standard design, when the batteries function as a heated bench or other art object.
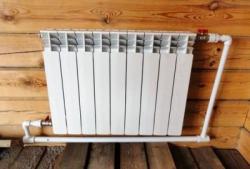
Reference! When installing radiators on a wooden floor in private homes, additionally use wall brackets. This solution will reduce the load on the logs.
Advantages
Floor mounts have a number of advantages:
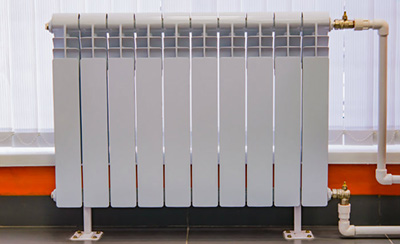
- High reliability and stability. At high loads, horizontal binding is more stable than vertical. The argument is especially relevant when installing heating devices near display cases, French windows, stained glass windows.
- Simple installation algorithm. It is not necessary to contact specialists to carry out the work; you can do the installation yourself.
- Aesthetics of the design. The variety of bracket models allows you to select an option for any design solution.
- Adjustability. The fasteners are balanced using screws. As a result, even the most bulky heating devices can be installed strictly horizontally on an uneven floor.
- No vertical plane binding required. Radiators are installed in the most convenient place.
Types of fastenings
The industry produces many variations of brackets that securely fix heating devices and provide trouble-free operation. All of them are divided into the following types according to their design:
- Fixed: welded parts without the possibility of adjustment, assembled in factory conditions. Many models are supplied with plastic overlays.
- Adjustable: with the ability to install holders at any height using bolt fasteners.
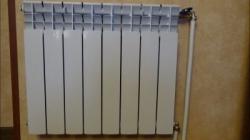
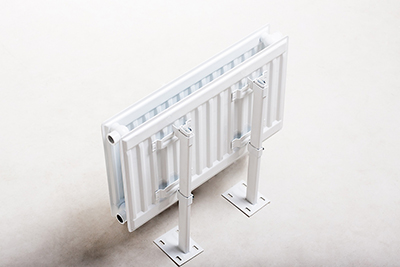
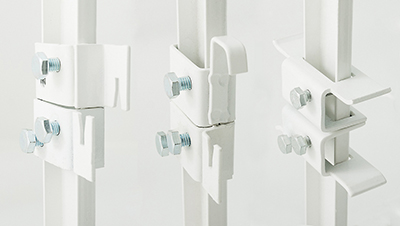
- Universal: combined brackets with welded and adjustable elements.
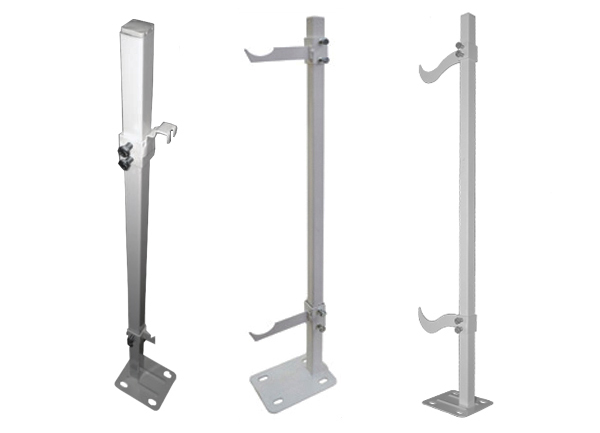
Photo 1. Three types of universal floor brackets for heating radiators with adjustable elements.
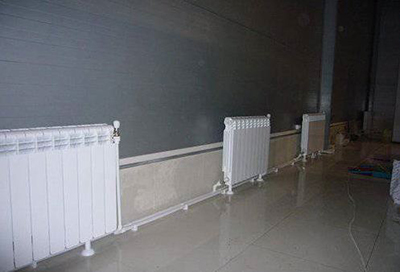
- Special: intended for radiators of a certain type, have width 80, 100 mm.
- Floor brackets are available upon request. with non-standard sizes, special designer models.
Attention! When there are differences in the height of a multi-level floor, adjustable brackets will simplify installation and horizontal alignment heating radiators.
Design
Floor brackets consist of from three main elements: racks, holders, soles.
According to the method of fixing the radiator to the holder, they are divided into four groups:
- with U-shaped metal bracket, which is thrown onto the crossbar of the sections and secured with bolts;
- with chain type locking element, consisting of metal links;
- with a metal plate holder with vertical slots, usually supplied complete with the heating device;
- without special fixation, with a holder according to the shape of the sections.
The number and availability of other parts (adjusting screws, decorative trims, etc.) may vary depending on the type of product.

Installation Features
Brackets are selected taking into account the type and weight of radiators, filled with coolant.
It is desirable that the supports be made of the same material as the heating devices. Number of anchor points is determined depending on the size of the battery.
The type and number of floor brackets are indicated in the instructions for the heating devices.
Installation sequence:
- Floor preparation: leveling, debris removalIf installation is planned during a major overhaul, then embedded elements for fasteners are provided during the screeding.
- Markup: The heating radiator is placed on brackets, the outlet openings are connected to the coolant supply pipes. At the same time, the fastening points are marked on the floor.
- Drilling holes, fixing fasteners.
- Installation of heating batteries, checking horizontality with a level, installing pipes.
Attention! When placing a heating device, follow these rules for marking: the distance from the edge of the window sill to the radiator is from 8 to 10 cm, from the bottom to the floor - 10-12 cm, the gap between the battery and the wall is from 2 to 5 cm.
Instructions for installing the sole
Necessary tools: marking pencil, measuring tape, electric drill or hammer drill, hammer, screwdriver or drill.
Sequence of work (if the floor is concrete):
- Make markings.
- In the marked places Use a hammer drill with a concrete drill bit to drill the mounting holes for the dowels.
- Insert plastic dowels into the resulting holes until they stop and hammer them in. Be careful not to break the auxiliary fasteners.
- Install the sole, screw it with self-tapping screws or screws.
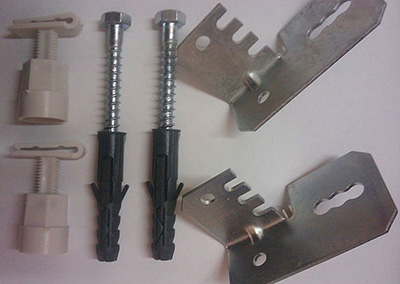
- Hang heating devices on the installed parts. Secure the nuts to the holders.

Photo 2. Drill, screwdrivers, hammer and other tools needed for installing the fasteners and heating radiator.
The bracket base is mounted on a wooden floor without using dowels.
When fixing the support Play and distortion are not allowed. To prevent this from happening, the floor surface must be leveled, cleared of construction waste, sand particles, dirt. In addition, it is important not to overtighten the threaded connections.
Useful video
The video shows the process of fixing a steel radiator to a floor mount.
Results
The main factors when choosing a mounting option for heating radiators are: reliability and long service life.
Therefore, if the walls do not meet the strength standards or are implemented unusual design project, floor brackets are the most reliable option.
Floor mounts are indispensable if radiators are installed along plasterboard or MDF partitions, next to panoramic windows or far from the wall.
To ensure that the operation of heating radiators does not cause any problems, approach the issue of fastenings with full responsibility and attention. If you doubt the correctness of your choice, it is better to contact specialized services.