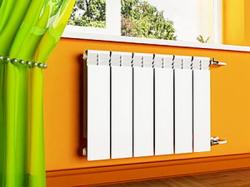
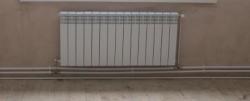
How to install heating radiators correctly with your own hands: a simple and clear description
Knowing the nuances of how to properly conduct the process installation of heating radiators will provide reliable, high-quality and durable heating premises.
When installing batteries yourself, it is important to follow the installation rules and SNiP standards.
Content
General rules for self-installation of batteries
Applicable to all batteries, regardless of type:
- is necessarily carried out calculation of the amount of coolant, which the battery can accommodate;
- water in the heating system overlaps, then the pipes are blown out using a pump;
- presence is mandatory torque wrenches;
Attention! Tighten and secure parts at your own discretion. unacceptable! The circulating fluid is under pressure, so improper fastening of parts leads to unpleasant consequences.
- is initially thought out and chosen suitable connection option batteries;
- radiators are mounted at a certain angle to prevent the accumulation of air masses in them, otherwise they will have to be removed through an air vent;
- In private houses it is recommended to use pipes made of metal-plastic, in apartments - from metal;
- The protective film is removed from new heating devices only after installation is complete.
Stages of installing a heating radiator in an apartment with your own hands
Installation consists of the following stages.
Preparing the tools
You will need:
- pencil for marking;
- roulette for measurements;
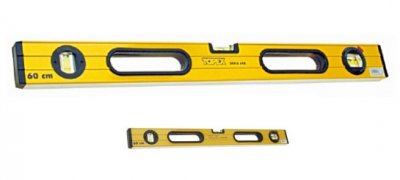
- building level to align the device with the horizontal floor line;
- pliers;
- drill with replaceable drills;
- screwdriver;
- set of keys;
- squeezing;
- nipples, threaded pipes, corners;
- Mayevsky crane, is required to release air;
- shut-off valves, allow you to isolate the battery from the heating system.
Choosing the right place
When choosing a location for a radiator, follow the recommendations of experts:
- the location of the heating device is selected in the center of the window opening;
Important! The battery must cover not less than 70% of the opening. The middle is marked, and from it to the right and left, lengths are measured and marks are made for fastenings.
- gap from the floor not less than 8 cm and not more than 14 cm;
- to avoid a drop in the thermal power indicator, the battery must be placed at a distance from the window sill about 11 cm;
- from the back wall of the radiator to the wall not less than 5 cm, this distance will ensure good heat convection.
More precise indentations are calculated when a specific type of battery is selected and the number of sections is calculated.
Preparing for connection
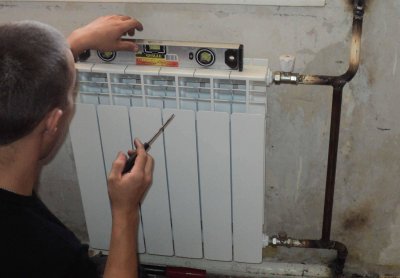
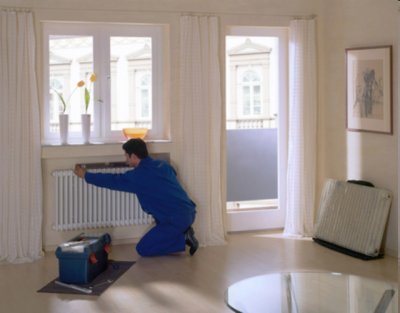
First, the coolant is drained. Then, it is attached to the wall. special brackets or they check the existing fastenings.
Examine the walls for possible defects. If there are any gaps and cracks are filled with cement mortarAfter drying, secure the foil insulation.
The variety of wall finishing options is quite extensive.
Selecting a connection scheme
Exists 3 connection options radiators to the heating system:
- lower method, the fastening is carried out at the bottom of the heating source, on different sides;
- lateral (one-sided) connection, most often used with a vertical type of wiring with entry into one of the sides of the battery;
- diagonal The connection implies the location of the supply pipe on top of the battery, and the return pipe on the opposite side at the bottom.

Description of the process
Subsequence:
- are being dismantled old radiator;
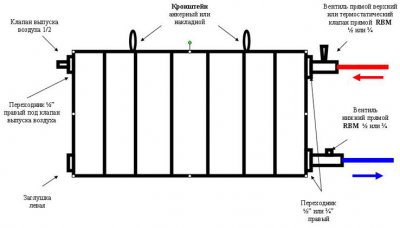
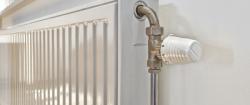
- install an air vent, plugs are screwed into the open holes of the collectors. Adapters are used for different pipe diameters.
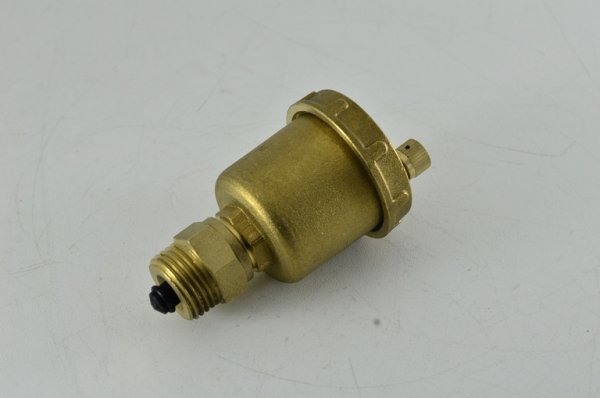
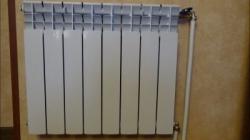
Photo 1. Automatic air vent 1/2, complete with shut-off valve, manufacturer - "TIM".
- for installation shut-off and control valves, ball valves are initially fixed at the inputs and outputs;
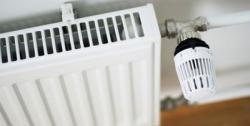
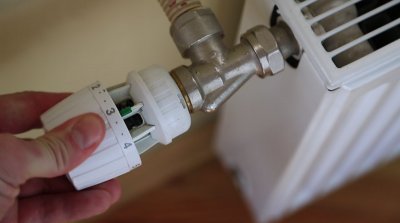
Reference! At this stage, you can install as an additional element thermostats, allowing you to control the flow of coolant.
- fixing the radiator to brackets;
- accession outlet and supply pipes is performed using threading, welding, pressing and crimping;
- control assembled system: water is supplied under low pressure to check for possible leaks and assembly defects.
How to Properly Install Different Types of Radiators
There are some nuances to installing each type of battery.
Cast iron

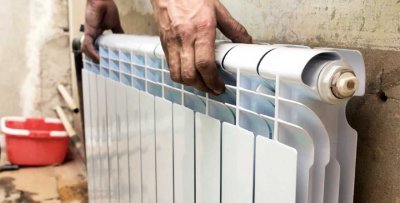
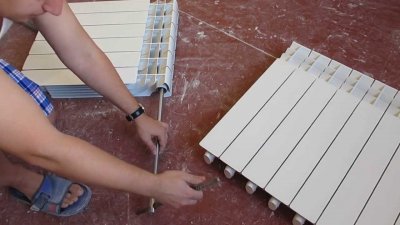
The difference from the standard circuit is that for batteries of this type Initially, sections are formed using a radiator key.
The nipples are soaked in drying oil and fixed manually. on 2 threads. In this case, a gasket is required. Then the radiator keys are inserted into the nipple holes and tightened.
Important! The assembly of sections must be carried out with an assistant, since simultaneous rotation of nipples may cause distortion.
After the battery has been pressed, a layer of primer is applied to it and it is painted.
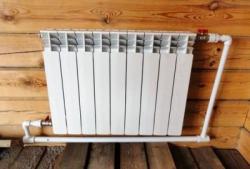
Aluminum
Passes according to the standard scheme of one of three options connections.
The only nuance is that aluminum batteries are fixed both to the wall and to the floor. For the latter option, use special clamping rings on the legs.
By adjusting the distance between the radiator and the wall, floor and window sill, you can increase or decrease the level of heat output from the battery.
When installing aluminum heating sources follow the instructions provided. If the recommendations indicate the use of a coolant, then you should use only it.
Mounting the screen in front of the radiator will increase the degree of efficiency.
Such batteries are suitable for installation in private houses with autonomous heating.
Steel
An important point in connection is checking horizontality batteries. Any deviation will reduce the efficiency of operation.
In addition to wall brackets, the following are used: floor stands for additional fixation.
Otherwise, standard connection schemes are used.
Bimetallic
In such batteries it is allowed building up or removing unnecessary sections. They are already painted. The sections are pulled together step by step from the bottom and top, without distortions.
Attention! The area where the sealing gasket under the nipple is located must not be cleaned. with sandpaper or a file.
As with the standard scheme, preliminary treatment of the wall is required.
Useful video
Check out the video, which talks about various schemes for connecting heating radiators in an apartment.
SNiP standards
Clearly established standards define the permissible errors in the installation of radiators.
Main parametric guidelines:
- distance from the window sill to the radiator ― 10 cm;
- from the battery to the floor level ― 12 cm (not less than 10 cm and not more than 15 cm);
- from the wall to the heating source not less than 2 cm.
In accordance with SNiP, regardless of the selected connection scheme, it is recommended to carry out the connection in the following sequence:
- definition places for fixing fasteners (at least 3 pieces);
- mounting brackets to the wall using cement or dowels;
- installation constituent elements radiator;
- installation batteries;
- connection to pipes heating system;
- installation air vent;
- removal protective film.
It is not difficult to install a radiator in an apartment with your own hands, but if you have any doubts, it is better to contact specialists.