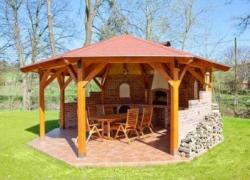
No money for ready-made models? There is a solution - you can easily make a gas grill with your own hands!
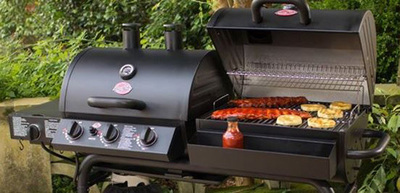
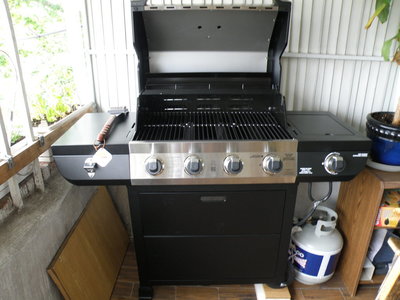
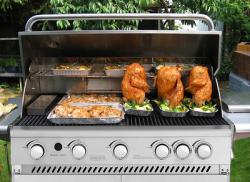
Factory-made gas grills are reliable and easy to use. Gas is more convenient than coal or wood for frequent cooking.
Grills from good manufacturers are very expensive and only restaurant chefs can afford it.
Achieve the same result for less money You can do it by making a gas grill with your own hands.
What does a gas grill consist of?
- Frame. Food grade stainless steel or enameled steel is used for production.
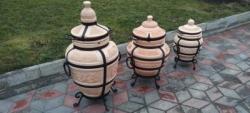
- Heaters. Depending on the grill layout, use the burners of a regular gas stove or specially made nozzles. The main thing is to close the heaters from dripping fat.
- Barbecue grill. It is better to make it from stainless steel.
- Skewer with a rotary mechanism.
- Fat collection. To prevent the burners from being flooded, install a drip tray.
- Lid. An important detail that distinguishes a grill from a barbecue. It allows you to get a higher temperature and even heat distribution.
- Additional accessories. Shelves, hooks, wheels and other useful things can be made later, as needed.
How to make a gas grill with your own hands, drawing
Depending on the size and the goal the manufacturing technology will be different.
- Scheme 1. To prepare shashlik and small-piece dishes in a regular kitchen, you can make a simple gas grill. A home gas stove acts as a heater, but fat and juice will drip onto its surface. An old saucepan of a height of minimum 15 centimeters with the bottom cut off, a stainless steel grate or mesh is placed on top of the pan.
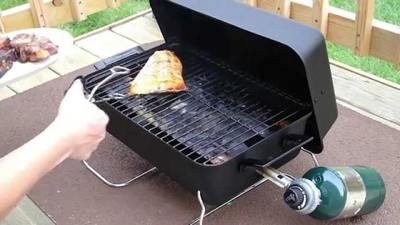
- Scheme 2. To cook dishes from large pieces of meat, large portions and use outdoors, you will have to make a mobile grill with a separate burner and the ability to connect to a gas cylinder. Such a grill should have a lid, temperature control, a massive grate.
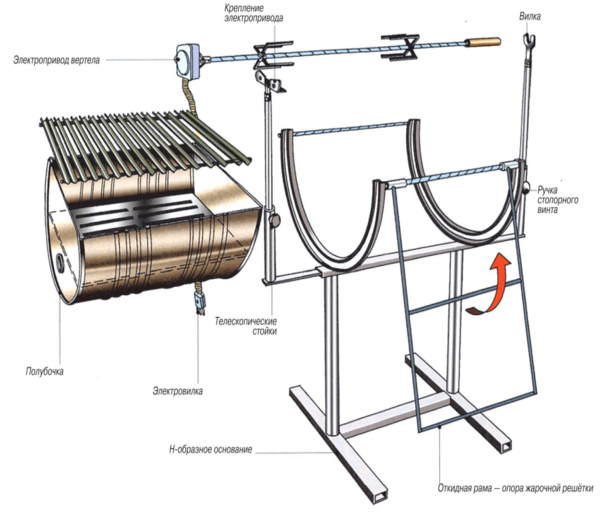
Photo 1. Drawing of a gas grill made from a metal barrel. The device is equipped with electric skewers.
Preparing the tools
Depending on the materials available, the set of tools may differ. To make the simplest grill, we will need a metalworking tool - a hammer, pliers, a hacksaw for metal, a drill. To make a good stand-alone grill, you will have to add:
- Measuring equipment - calipers, ruler, compass, level.
- Welding equipment — to connect stainless steel, you can use special electrodes or TIG welding in an argon environment. If you do not have access to such technologies, the grill can be made of iron, it will require a simple welding machine.
- Metal cutting equipmentIn the garage, all cutting and fitting work is done with a grinder or plasma cutter.
- Set of dies and taps desirable, but if they are not available, tack welds can be used.
Attention! Use the tools, observing safety precautions!
Work order
To ensure that your gas grill is the optimal size and delivers quality cooking, all The elements must be proportionate and well-fitted.
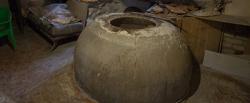
The body can be made from a suitable container made of food-grade stainless steel or a wide enamel saucepan.
The optimal diameter is selected based on the required power; a container of this size is suitable for cooking a good steak. diameter 40-50 cm.
An enamel saucepan, a beer keg, the body of an old receiver - everything can be put to use.
It is better to install a tray to collect fat..
This can be done in various ways - place a metal plate of the appropriate diameter inside the pan, make a removable bottom, or drill holes in the bottom of the pan and place it on a tray of a larger diameter.
The nozzles are installed in the lower part of the grill above the tray. These are metal tubes with a thickness of 1-3 centimeters with drilled holes of diameter 3-5 mm, through which the gas-air mixture passes.
It is better to make the nozzles removable, they are easier to clean. We will implement this task as follows: we weld them into the wall of the container 3-4 cm a section of pipe, it will act as a connector for the nozzles and the mixer. The diameter of the pipe is selected so that the nozzle enters with force by 2-3 centimeters and fixed. For greater density, a cuff made of heat-resistant silicone can be made on the edge of the nozzle.
A gas and air mixer must be installed to the outer edge of the connector in the same way. It looks like this: a tube with the same diameter as the nozzle, 5-8 cm long. A hole is made in the wall of the mixer and a gas jet is inserted into it.
If it is difficult to make a burner yourself, use parts from old gas stoves or gas burners from a boiler.
Experimentally it is necessary to achieve stable combustion without popping. Blue flame indicates optimal combustion. You can change the diameter of the gas jet, the number of holes in the nozzle, the ratio of incoming air and gas.
At a distance 5-10 cm We install a grate below the edge of the container. It is better to make it from stainless steel rods with a diameter 3-5 mm, or cut from a factory grill grate. The grate should stand firmly on the supports and be easily removed.
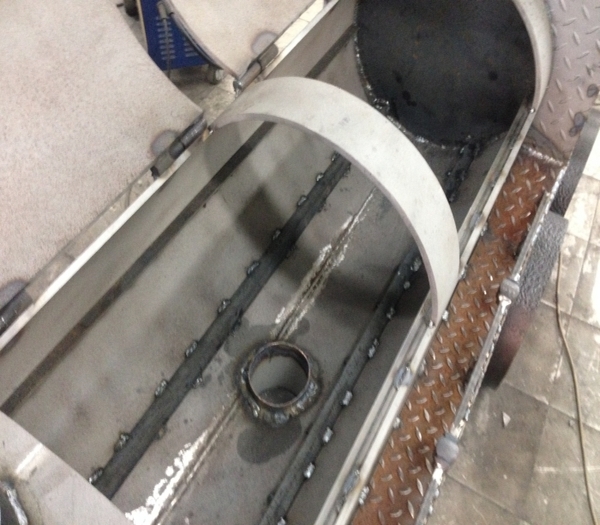
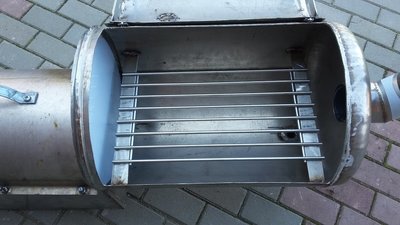
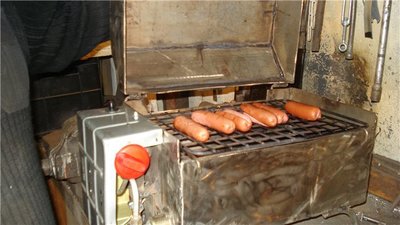
Photo 2. Grill made from an old gas cylinder. There is a hole for gas in the bottom of the device.
As a lid, you can use the standard one from the saucepan we are using.. It needs to be improved: cut holes for the release of carbon dioxide and install a thermometer.
The gas grill is ready. To increase its functionality, we install it on a metal base, welded from a rod or square tube.
Automatic spit
You can increase the functionality of your grill by making your own automated spit. To do this, the design will have to be changed: remove the grill and install the skewer mounts. On one side, this is a simple tube in which the sharp end will rotate, on the other - a cutout for fixing the skewer bushing. A motor from a tape recorder and a power supply for it are mounted outside the container. The skewer is installed, a belt from the motor is thrown onto it. We regulate the rotation speed by the diameter of the pulley.
Pitfalls
The main difficulty that can arise when building a gas grill with your own hands is proportionality of all details. If you set the nozzle too powerful, the food will burn. The small amount of space under the lid will not be able to accommodate the required portion.

All surfaces that come into contact with food are either made of food grade stainless steel or coated with a special non-stick heat-resistant compound Teflon based.
Experimenting with these dyes may result in poisoning.
All heated parts must not emit smoke or odor. — the meat being cooked absorbs them. Be sure to test-fire the grill so that any remaining paint and dirt burns off. Keep the grill clean, remove any carbon deposits or grease from the surfaces.
Safe connection of the burner to the main and liquefied gas
Grill Temperature Source - gas burner. It can operate on both mains gas and liquefied propane-butane from cylinders.
To connect the grill to the cylinder, you need to purchase an adjustable gas reducer. Thanks to the adjustments, you can achieve the optimal gas pressure in the jet. The reducer and grill are connected to each other by a flexible hose.
Important! Use only metal gas hose. It is much safer. When connecting, check for sealing gaskets.
The system with a cylinder should be used like this:: close the taps on the grill, open the cylinder valve, and adjust the gas pressure with the reducer.
Light a match, turn the grill tap. Light the gas above the nozzles through a special hole. After finishing cooking, turn the gas on the cylinder, and after it goes out, turn it on the grill.
The grill also works well on mains gas. The pressure in the mains is low, so if necessary, you will have to drill out or replace the nozzle on the injector.
Connection to the main gas pipe is simple - a tap is screwed onto the pipe, it is connected to the grill using a metallized gas hose. Safety requirements are the same as when connecting to a cylinder. All joints and threads must be sealed.
Attention! When designing gas equipment, you do all manipulations at your own risk! Do not allow the gas-air mixture to accumulate in the grill., this may lead to an explosion.
Useful video
Watch the video to learn how to make your own gas grill for home use.
Rules for using a homemade device
Gas grill It is advisable to use it outdoors. When cooking on a fire, fat and food pieces fall onto hot surfaces and smoke. When burning, carbon dioxide and steam are released, which must be removed in a timely manner.
If you want to grill at home, make sure you have good forced ventilation.
It wouldn't hurt availability of fire extinguishing equipment — when using homemade gas burner devices, there is always a risk of unauthorized ignition.
Cooking on a gas grill is easy. There is no time required for wood to burn down or coals to light. The desired temperature is reached almost instantly, and the grill cools down just as quickly. Gas combustion occurs without smoke and soot, and as a result, no ash is formed.
These advantages make the gas grill a serious competitor to charcoal. Food cooked skillfully tastes almost the same. The aroma of wood smoke can be added by placing it on the diffuser a small container with branches of fruit trees.