It will turn out no worse than an experienced master! How to make a tandoor with your own hands?
In order to build a tandoor on the site, it is not necessary to seek the services of a professional stove maker. But a specialist consultation will not be superfluous.
The furnace design can be built from bricks, clay and even from a barrel.
Content
Preparing to build a tandoor
Making a stove starts with choosing a project.
The owner compares the idea with the available resources and decides the issue, for what purposes He needs a device.
After this, it is determined whether the tandoor will be on a platform with wheels or in a mini version, which can be placed under a canopy or even on a table.
Tools and materials
Tandoor with your own hands constructed using materials:
- bricks;
- fireclay;
- building mixture;
- stone blocks;
- sheep wool;
- barrels (if created on its basis);
- metal sheet for the pallet;
- boards.
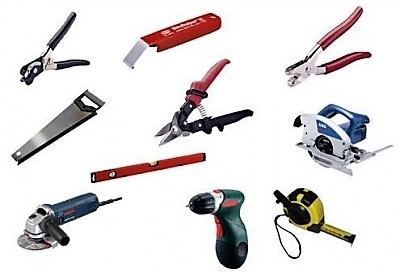
You will need the following tools:
- hacksaw for metal;
- trowel;
- grinder with diamond wheel;
- trowel;
- electric drill;
- metal shears.
Will come in handy scoop, wooden handle, kit skewers and brackets for them, lattice.
Important! It would be better suited kaolin or fireclay claySome stove makers recommend redThere is one general condition: the mass must be mixed well, otherwise cracks are guaranteed to appear.
How much does construction cost?
In total, you will have to spend on building a tandoor with your own hands from 5 to 30 thousand rubles. Compared to the price list of tandoor masters, whose prices sometimes reach up to 100 thousand, it seems like a saving.
It is important to understand that an inexperienced professional may not achieve the ideal result the first time.
In 90% of cases The tandoors of such owners crack during the first use, and fireclay clay alone is required for each rework by about one and a half thousand rubles.
Add to this the efforts that may not be successful.
How to build a tandoor with your own hands?
The construction of the tandoor is underway in several stages and varies depending on the type of material from which the device is made.
How to make a foundation yourself
For the tandoor you will need an empty area with a raised surface (not clay!). Crushed stone is poured onto it approximately fifteen centimeter layer. The depth of the foundation will be 0.4 m, a projection above the ground - 0.1 mAll this is covered with sheets of waterproofing material.
Attention! The distance from the tandoor to any buildings is not less than 15 m!
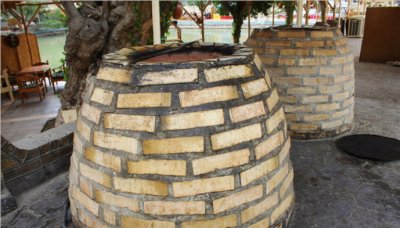
How to build a brick device, its installation
The stationary tandoor is placed on a dry stone platform, preferably with an elevation. Ceramic clay or white firebricks, stone blocks are suitable for the construction of the device.
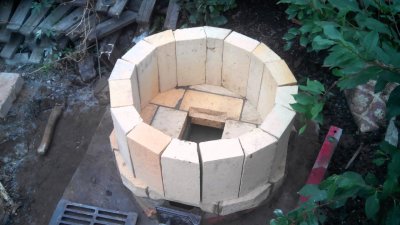
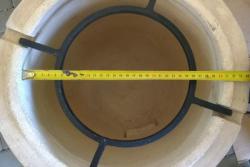
Construction begins with the foundation. A round hole is dug for it, with a radius of 60-65 cm. A thick layer is placed on the bottom (20 cm) sand layer.
Then the stove is installed in the form of an inverted jug or bowl. You can lay the bricks horizontally or vertically.
Horizontal The masonry retains heat better, but you also have to work with it longer. vertical less bricks are needed, the building is erected much faster.
In order to avoid making a mistake with the dimensions, first do masonry without mortar (the so-called row-by-row). In the necessary places, the brick is cut with a diamond wheel.
Important! Make sure the shape of the inverted vessel is maintained: tandoor widens towards the bottom and narrows towards the top. If this is neglected, the heat will not hold and the food will not cook properly.
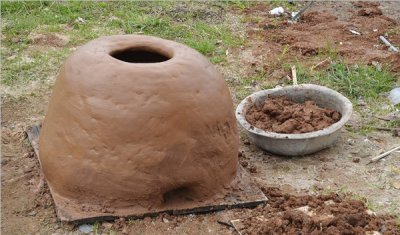
Upon completion of the work the inner surface is cleaned tandoor from stuck clay or building mixture. The external seams are sealed with dry clay. Then a layer of clay mixed with with finely chopped herbs. The outer part can be covered with tiles or stone slabs if desired.


How to make a unit from a wooden barrel
The most common one is suitable for the tandoor two hundred liter barrel: metal, wood or even plastic. The main thing is that it is whole, without cracks, corrosion and patches. It is better if the hoops do not hold well, this will make the work much easier. From the inside, the wooden vessel is impregnated with cotton (if there is none, any vegetable) oil for approximately twelve hours.
Next, the body is coated from the inside with clay mortar. The latter consists of fireclay, sand and sheep wool (if it is not available, a reinforcing mesh is used).
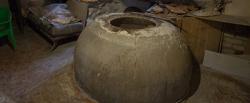
The walls are leveled, then the body of the future tandoor is dried. during the week under incandescent lamps.
After this, the wooden template is removed and the body is fired.
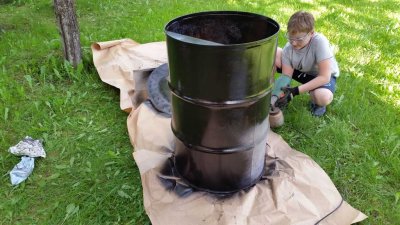
The iron barrel structure is the most budget option. How to install it?
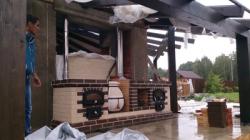
At the iron barrel remove the bottom, cut through blower hole. The inside of the container is lined with bricks and the top is coated with a building compound or clay.
Reference. Some stove makers are sure that insulation is not necessary, others argue the opposite.
You can use as an insulating layer foil coating. Cotton wool, as practice shows, greatly complicates the work, the brick “wanders” on it - deviates from the specified place, gets knocked down, it is difficult to fix it in the desired position.
The blower is lined with bricks in the shape of a trapezoid, with the narrower part facing inward.
The outside of the iron tandoor can be do not cover with insulation.
According to the builders, such a design reliably retains heat even without it.
If desired, the device wheels are attached, on which it can be rolled, for example, into a gazebo.
Attention! It is permissible to move the tandoor only after the wood has completely burned out!
Drying and initial firing of a homemade tandoor oven
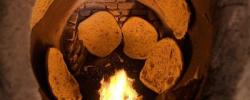
The finished tandoor is dried for about a month and a half, then calcined on chips three times. Each burn lasts about four hours, heat the tandoor to the maximum. Small chips and paper are suitable for the first time, for subsequent ones - firewood.
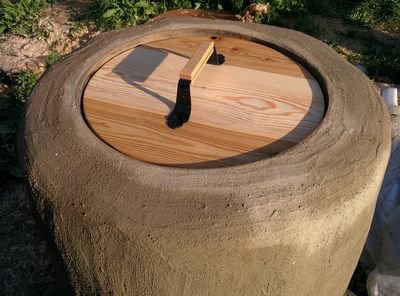
Important! Make sure that the ash lid fit tightly against the hole. For this purpose, brick is often used, which is adjusted to the size of the ash pit using a diamond wheel.
First, a piece of paper or a handful of coal is set on fire, then chips and small firewood are added until the temperature reaches thousands of degreesUsing the ash lid, you can increase or, conversely, decrease the heat.
Potential problems during construction
It seems that building a tandoor with your own hands is not associated with difficulties. But this impression is deceptive.
Masonry for tandoor must be perfectly flat and smoothTo achieve this, you need a properly constructed drawing and diagram.
If you are an inexperienced stove maker, your tandoor will most likely crack. This is due to various factors:
- failure to observe proportions when mixing clay;
- poor quality building mixture;
- insufficient mixing.
Suitable for bonding bricks red or fireclay clay, liquid glass is added to it. You can add to the building mixture Terracotta glue, this will give the product strength.
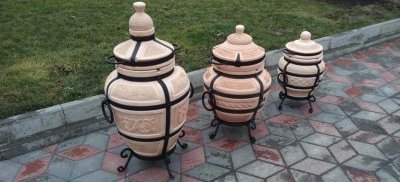
Photos of finished devices
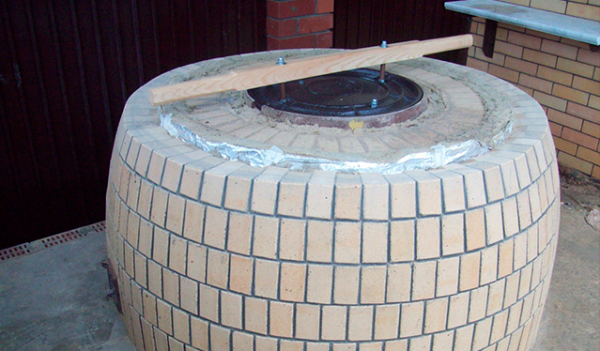
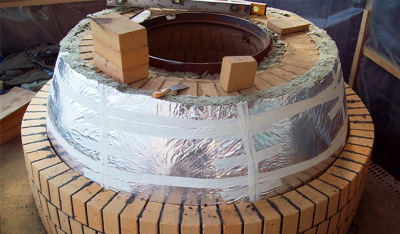
Photo 1. Vertical brick tandoor. You can see insulation between the layers of brick.
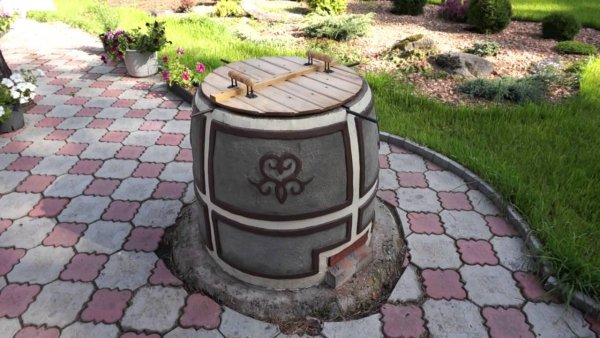
Photo 2. Vertical tandoor made of brick. The device is faced with decorative plaster.
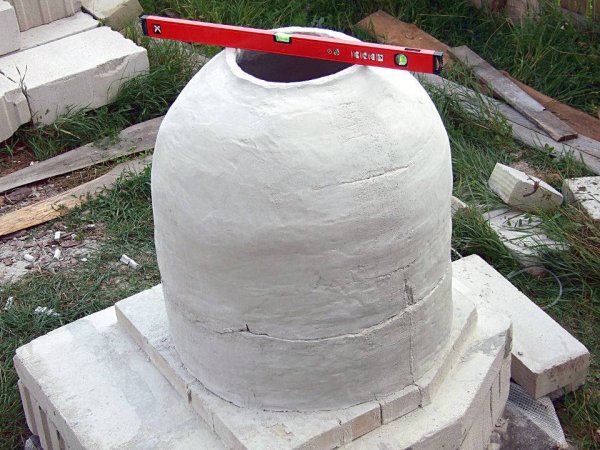
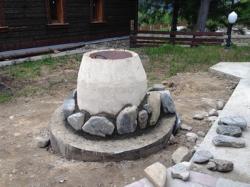
Photo 3. Tandoor made of brick. Layers of clay and plaster are applied over the structure.
Useful video
Watch the video, which demonstrates in slideshow form the process of making a brick tandoor.
Rules of use and safety
Do not use in work asbestos. He has strong carcinogenic properties — do not forget that you will have to bake products directly on the surface of the device or in close proximity to it. It's even worse to use for template asbestos cement pipe: when heated, it explodes.
When working with a tandoor, a lot of care is required caution. The walls of the oven are getting hot. up to four hundred degrees, and the flame can rise over a meterThis is why strangers, especially children, are not allowed near the stove when it is lit.
Comments