You can move it wherever your heart desires! How to make a portable tandoor on wheels
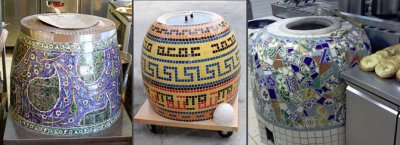
Mobile tandoor is being manufactured from the stove body and the ramp with wheelsLighter versions of such ovens are also popular - portable tandoors.
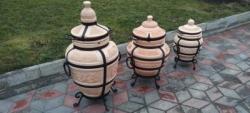
They are made from clay pots, pans, even ordinary metal buckets. There are no special restrictions on the weight of the structures, the main thing is that they can be carried in hands or transported.
Content
How to make a mobile tandoor with your own hands
The production of a mobile tandoor takes place in several stages.
Selecting a project
First stage creating your own oven is a choice of the design of the future device.
You need to decide on the size of the unit, select a frame, or, in other words, a template, which you will then cover with brick and a layer of clay. Then a drawing is made and the angle of the brick bevel is determined.
List of tools and materials
For mobile tandoor you will need:
- Stand with wheels.
- Casing. Many stove makers recommend using a gas titanium casing. AGV-120, but you can take any other container, as long as it is whole, without leaky spots and patches. For a small number of eaters, even a large saucepan will do.
- Fireproof bricks.
- Concrete cutting wheel.
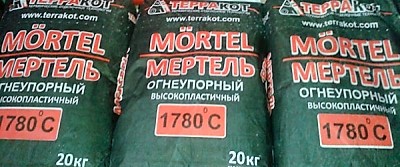
- Compound "Mortel" or other building mixture.
- A circular iron blank for the lid.
- Insulation.
- Reinforcement.
- Welding.
- Angle grinder with a diamond wheel.
The main thing is in the stand - these are the wheels. They should be exactly metal, otherwise the structure will not withstand the weight of the mini-oven and will not go anywhere. A thin rubber coating is put on top of the wheels for a comfortable and smooth ride.
Manufacturing a trolley on wheels, basic requirements for it
For the cart you will need: sturdy metal stand. If you can't find one, you can weld the frame yourself. First, weld the frame from iron tubes, then weld the axles for the future wheels to it. After that, close the frame with bricks, fastened with mortar. Categorically wooden or plastic ones are not suitable constructions.
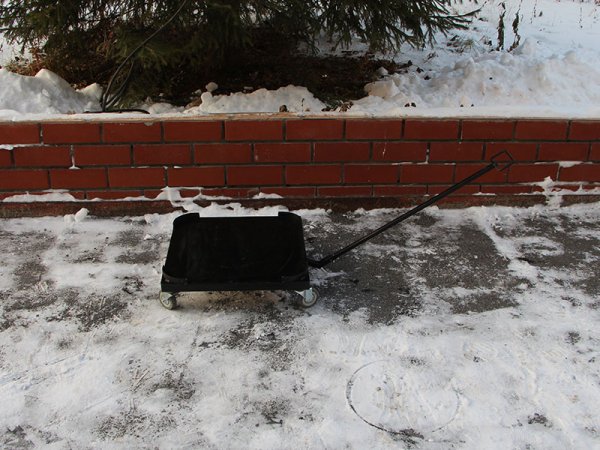
Photo 1. A trolley on wheels for a portable tandoor. A handle is attached to the device to make it easier to move.
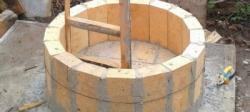
Laying out the foundation, installing the walls
Once the foundation is ready, there is a long and painstaking job ahead - marking, adjusting the bricks, then laying out the frame with them. The bricks are cut with a diamond wheel to the required dimensions. The height of the laying is up to three bricks.
The mobile tandoor starts with an ash pan. Without it, the stove will not receive a heat source. Having arranged the ash pan, they apply mortar, then place the next row of bricks and so on until the end.
Important! It is better to make a metal, flat lid for a mobile tandoor. Cast iron rings are well suited for this purpose. With the help of such a lid two goals are achieved: the unit will not lose the accumulated heat; you can put an iron bowl on top of it and heat up a portion of food.
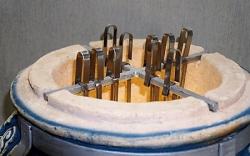
It is made from reinforcement skewers mesh and bracketsThey are attached inside along the edges of the tandoor working chamber.
Insulation and external finishing of a portable tandoor
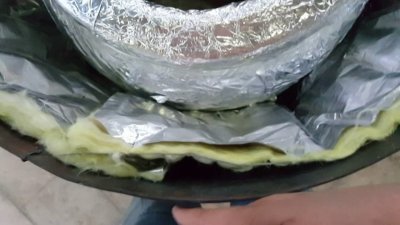
Most experienced stove makers believe that It is necessary to insulate a mobile ovenWithout insulation, the heat will quickly escape and the food will not cook properly.
When heated, the walls of the oven sometimes become hot up to four hundred degrees Celsius and accidental contact with them can result in serious burns.
The grate for the tandoor is round cast iron grate, designed to support the firewood. Its installation is not mandatory, but desirable, since it allows the ash to settle to the bottom, without interfering with combustion.
Reference. Suitable for insulation layer of basalt wool. A foil sheet is placed on it. The inside and outside of the stove is lined with clay or a building mixture.
Drying and initial firing
Once the installation is complete, The tandoor is heated. This is done with paper or a handful of coal, then wood chips are added. The heat is gradually increased.
First it's done four to five short burns, after which the tandoor is allowed to cool. There is no need to cool the device artificially. The slower the surface dries, the stronger the structure. After this, a control burn begins, the mini-tandoor is heated to full power. You can even bake meat or vegetables in the device.
Possible problems
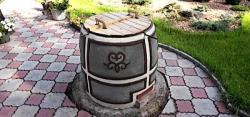
Although mobile and portable devices are easier to manufacture and operate, there is still a possibility of complications arising during the operation of the device, namely cracking.
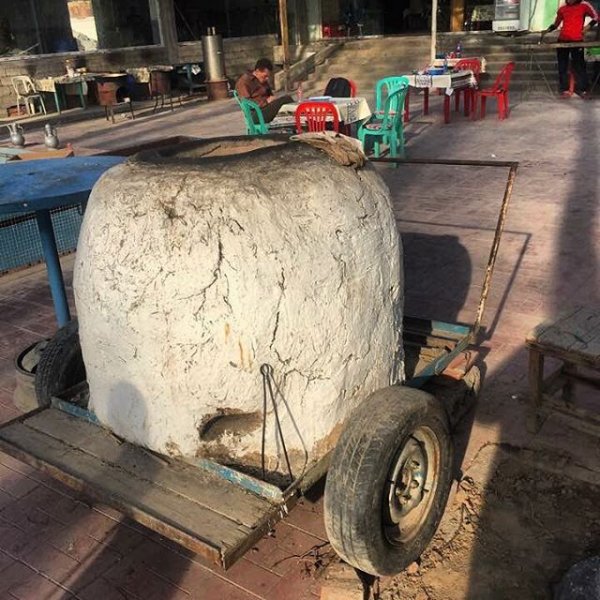
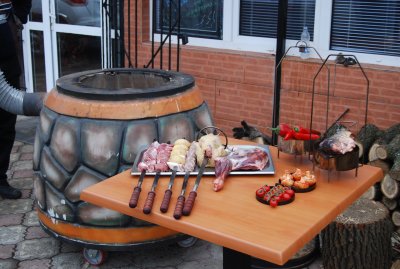
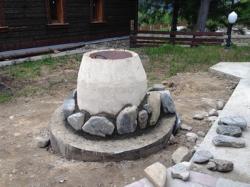
Photo 2. A homemade portable tandoor installed on a cart. The device is slightly cracked, which indicates improper use of this device.
To prevent the tandoor from cracking, burn through gradually, and then Store in a dry place, covered with waterproof material. If the stove gets wet, it can only be dried naturally.
Attention! In winter, any tandoor they kindle gradually, otherwise the device will crack. First, small firewood is ignited, then after the walls are warmed up, fuel is added.
Useful video
Watch the video, which explains how to use the tandoor correctly and talks about the first firing of the device.
What should you remember?
With a mini tandoor We must not forget about safety rules:
- Like any other oven, the tandoor can't touch: the wall of the structure is heated above three hundred degrees.
- The stove can be moved and carried only after the fuel has completely burned outFor this purpose, special heat-resistant gloves are used.
- Do not lean over the neck of the operating device. The flames may rise up to a meter in height. The tandoor is cooled only naturally.
The tandoor on wheels differs from the original ground or pit version smaller dimensions and weightIt is much easier to work with and requires fewer consumables to make.

Comments