How to make a stove not only useful but also beautiful: ceramic tile cladding
The oven has an ancient history, but even today it is capable to enliven any interior and even become its central part.
Various methods are used for this, and the most popular of them is tiling. This technology has existed for several centuries and has not lost its relevance to this day.
Thanks to her simplicity and use inexpensive materials, it is not necessary to involve experienced specialists in the work; you can do it yourself.
Content
Requirements for tiles. Can ceramic tiles be used?
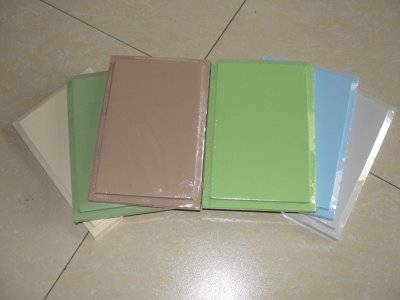
For facing the stove, it is necessary to use tiles that meet the following requirements:
- Their coefficient of thermal expansion should be close to the same indicator for the material from which the stove is made.
- Durability to various damages.
- Tall fire resistance.
- Ecological safety.
For example, ceramic tiles are fireproof, hygienic, and easy to clean. But tiles can be sensitive to low temperatures.
What to fix. How to mix glue with your own hands?
The strength of the tile attachment depends on the type of adhesive used. solution.
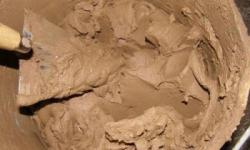
Clay mortar
To prepare it, sand, clay and water are mixed in parts depending on the fat content of the clay. one part water and one part sand clay is added from 2 to 4 parts, the fatter it is, the more.
Reference. The fat content of clay is determined in a simple way: when a ball is molded from it, the more it cracks when it dries, the more clay it contains fatter.
Cement mortar
For such a solution, cement grade is used not lower than M400. For cooking 1 part cement mixes with 3 parts sand and diluted with water. Experienced stove-makers advise adding more cooking water salt based on 1 kg per 10 liters mixtures.
Dry mix
Commercially available dry mixes on various bases are convenient in that the amount of components in them is precisely measured and you only need to dilute them with water according to the instructions. It should be noted that the mixes are designed for tiles of a certain type and will perform worse if the manufacturer's recommendations are not followed.
Ready solution
Various types of ready-made glue are widely available in stores - adhesive masticIt is necessary to carefully study the manufacturer's recommendations in order not to purchase a solution that does not meet the requirements for heat resistance and expansion.
Getting Started
Before work you need to:
- prepare tools;
- calculate the amount of materials.
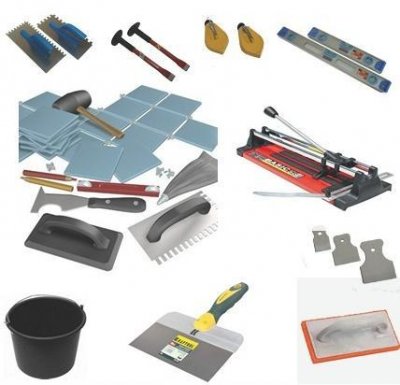
Tools, which will be required:
- 3 spatulas (for cleaning the coating, applying glue and sealing seams);
- chisel or perforator to remove old coating;
- rubber hammer;
- tile cutter;
- marking crosses;
- level;
- plumb line.
Necessary materials:
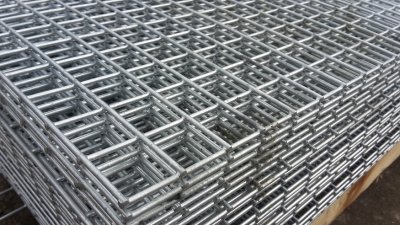
- assembly net;
- fittings for fixing the mesh;
- plaster;
- primer;
- tile;
- glue;
- heat-resistant grout.
How many tiles are needed to cover the entire stove?
To calculate the number of tiles required for the job, you need to calculate the surface area of the stove. The size of the inter-tile joints and losses due to chipping and cutting can be taken into account, increasing calculated area by 10-15 percent.
Important! The larger the tile size, the more marriage and waste will remain after trimming.
Lining options
The method of laying tiles significantly influences the consumption of tiles:
- Straight rowsThe layout, reminiscent of the gridded notebook layout, is only suitable for tiles that have the same shape.
- BandagingThis option, reminiscent of laying bricks in a wall, is more convenient and simple, and work flaws are not so noticeable.
- Diagonal. This method resembles straight rows, but the tiles are tilted. at an angle of 45 degreesIt is quite complex due to the large amount of waste and the difficulty of marking.
Styling options can be combined to create complex designs.
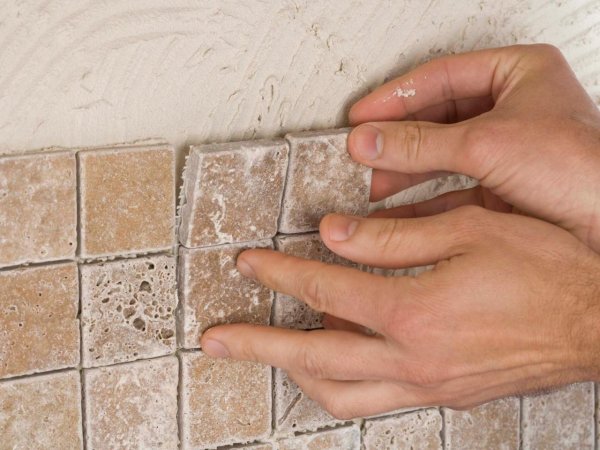
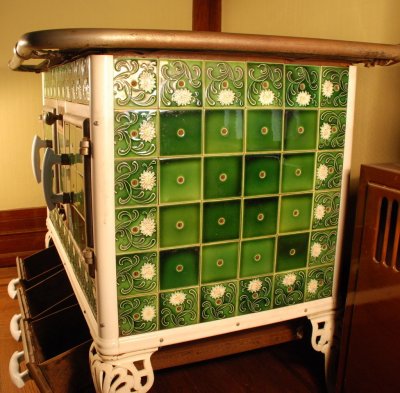
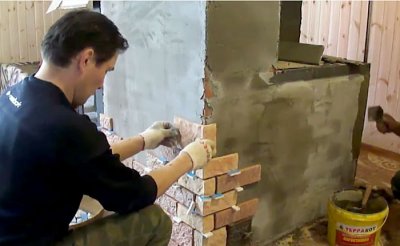
Photo 1. An example of a simple layout in the form of straight rows, looks neat and even.
Preparing the oven
For high-quality installation, it is necessary to prepare the base. The main goal is to give the stove correct geometric shapes, which will speed up the work and reduce the consumption of adhesive solution.
For an old stove
This work includes many additional preparatory steps:
- Removing plaster. It is removed using a chisel or a hammer drill. To make the process easier, you can use a grinder, cutting the plaster to the base with lines in the form of a wide grid.
Advice. Periodic cleaning will help reduce the amount of dust when removing plaster. wetting with its water.
- Removing old paint. It can be cleaned with a metal brush, heating the surface with a building hair dryer. There are ready-made liquids for removing paint, but they have a sharp smell that does not evaporate from the room for a long time.
- Removing tiles. It is knocked off with a chisel or a hammer drill starting from the bottom row. If the brickwork is slightly damaged in the process, it is okay, it can be leveled later.
Important! You need to work in protective glassesto prevent sharp particles from damaging your eyes.
- Deepening of inter-brick joints. For a strong fixation of the solution, it is necessary to deepen the seams up to 1 cm chisel or hammer drill.
- Cleanup all remaining solution.
For a new stove
Work on a new furnace may not begin earlier than in a month its use. During this time, possible defects will appear, and the stove will give a mandatory shrinkage. The surface of a high-quality laid stove does not need to be leveled, but it is certainly primed and marked.
Alignment of walls
If there are large irregularities on the walls, they must be leveled and plastered.
A metal frame is pre-mounted on the stove. net with cell size 5x5 centimeters. The solution applied subsequently will not peel off from the base.
The mesh is secured with dowels, nails or self-tapping screws with washers. Step installation - about 50 centimeters.
After installing the mesh, the surface is leveled with tile adhesive or clay-cement mortar prepared in a ratio of 3:1. If leveling of unevenness is required more than 1 centimeter, then it is better to do it in two steps, applying second layer plaster only after the first one has completely hardened.
Important! Before applying the plaster, the oven should be heated to temperature 30-35 degrees.
Primer
To improve the quality of the adhesive solution's connection to any surface, a heat-resistant deep penetration primer should be applied to it.
Preliminary marking
To designate horizontals You can use a stretched cord or a pencil with a level. Vertical The lines are marked with a plumb line. But the best result is achieved with modern technology - a laser level.
Preparing the glue
The adhesive solution must be prepared strictly observing the recommended proportions components. All the prepared solutions gradually dry out, not so much because of the evaporation of water, but because of its absorption. Categorically it is forbidden add new portions of water into the ready-made solution - this significantly reduces its quality. Therefore, you need to use such portions in order to have time to glue the stove before the material dries.
Laying
Installation begins from the outer corner of the stove. The corner elements are laid first.
How to lay the first row
To compensate for thermal expansion of the stove, it is necessary to leave a gap between the bottom row of tiles and the floor. gap of 0.5-1 cmIf this is not provided for, the expansion of the stove during firing can break this row.
If the floor is not strictly horizontal, a stove is installed for the first row your horizontal. It is necessary to mark it along the upper border of the lower row and cut the tiles from below, maintaining the selected level. Then the subsequent elements will be strictly horizontal and will not create the effect of a "falling" stove.
It is better to place the trim elements near the wall, where they are less noticeable, and to use whole tiles to cover the corners.
How to beautifully tile corners
There are special ones for finishing the corners of the stove. shaped elements. They can be used to lay out both external and internal corners. This finish looks much nicer than simple closure and prevents accidental damage to the edges.
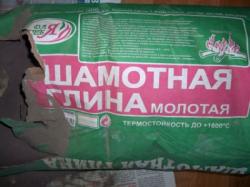
Firebox finishing
Regular tiles are not used at this stage. To protect the firebox from damage and exposure to flames, special fireclay products.
Cutting tiles
It is better to use for cutting tile cutter — a special device that allows you to fix the tile, draw a straight line on it with a cutter, and then carefully break it into two parts. To avoid chipping, it is better to slightly wet the surface before doing this.
You can also cut using BulgariansFor high-quality work, the cut is first barely noticeably marked with a glass cutter or a circle on the front side, and the sawing is done from the back.
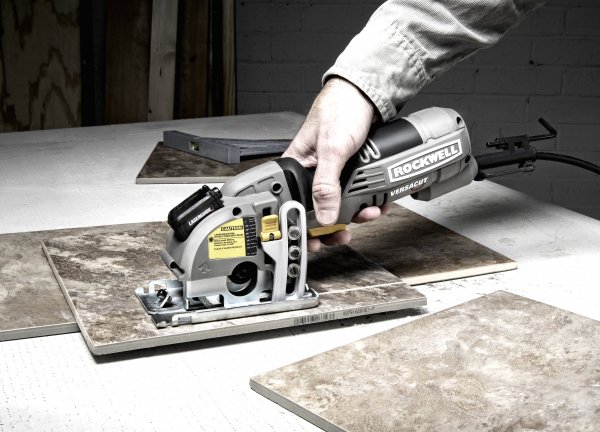
Photo 2. A tile cutter, as a special device designed specifically for this purpose, allows you to cut material faster, easier and safer.

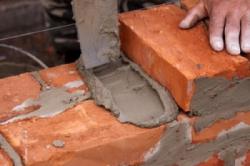
How to glue tiles correctly
The glue is applied in two ways:
- with a notched trowel;
- with a trowel.
Thickness the glue should be from 2 to 7 mm. A notched trowel is suitable for a non-professional, but working with a trowel requires sufficient experience. After laying the tiles, there should be no air pockets underneath them. Air expanding from heating can damage the tiles, so the quality of the adhesive application must be carefully monitored.
Important! Before applying the adhesive to the tile, it should be slightly moistened with water. This is done with a sponge or brush. Completely the material must not be immersed in water.
Grouting
The type of tile and its dimensions determine the size of the inter-tile joint. The larger and heavier the material, the wider the joint needs to be. The latter allows the tile heat up and not crackDuring installation, the seams are not filled with glue; a special colored grout mixture is used for this, which, depending on the owner’s wishes, will emphasize or, conversely, hide the seam pattern.
Important! It is better to do grouting in two days after installing the tiles, waiting for the glue to completely harden.
The mixture is prepared according to the manufacturer's recommendations. Grouting is done with a narrow soft spatula that does not damage the tiles. After filling the seams, the stove wall is carefully wiped with a wet sponge, removing the remains of the mixture. Final cleaning the surface is carried out after the grout has completely hardened, in two hours.
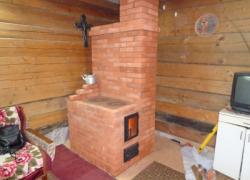
The result of the work: a stove lined with tiles. Photo
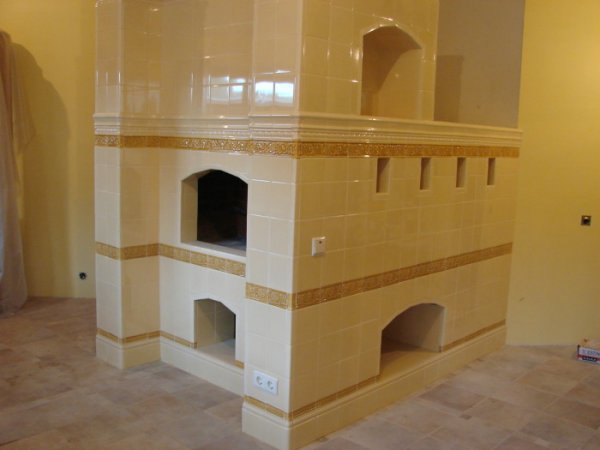
Photo 3. Light-colored tiles were used for laying. A good option, considering its features.
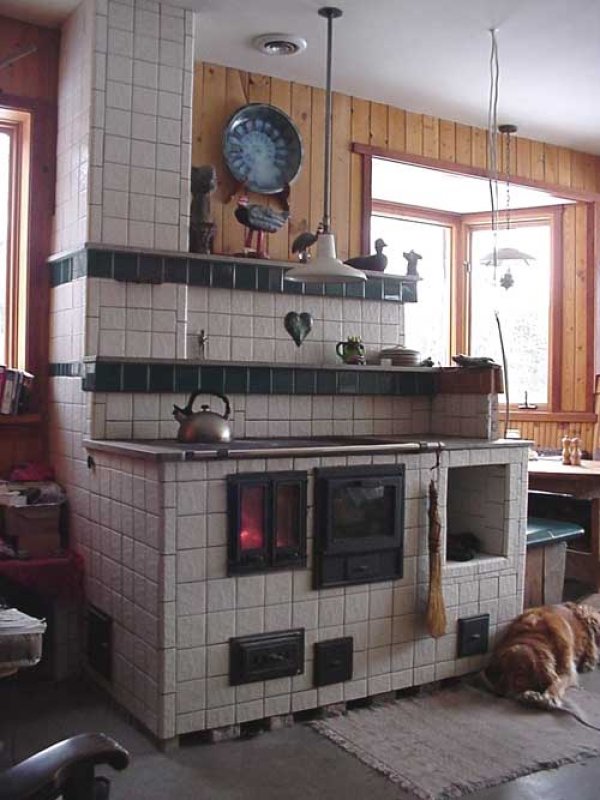
Photo 4. A stove with black and white tiles laid in straight rows looks appropriate in a country house or a summer cottage.
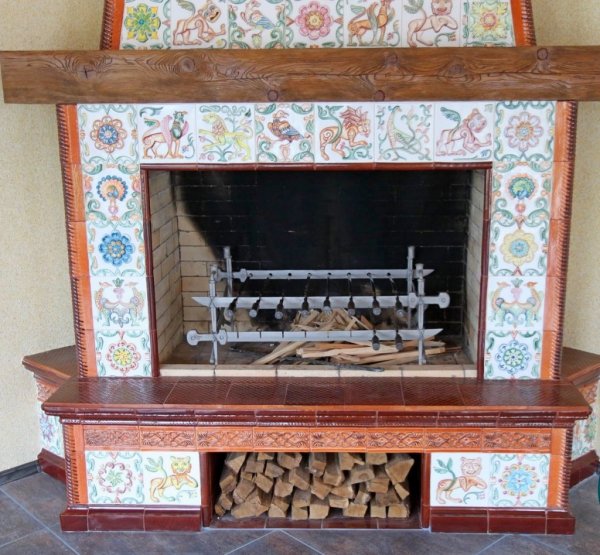
Photo 5. You can decorate a stove with a fireplace in a similar way. Tiles with an unusual pattern will add charm.
Common mistakes
When laying tiles yourself, you can make several common mistakes:
- Application materials that are not suitable for the stove. Not every tile and adhesive can withstand heat and thermal expansion.
- Seam too wide. It looks unaesthetic and creates a feeling of a "torn" surface. To avoid this, you need to consider the size of the tile and correlate it with the size of the seam.
- Poor quality Plastering and priming can cause some tiles to peel off along with the base. All preliminary work (called hidden in construction) must be done very carefully, even if it is not visible after the final finishing.
- Chips and cracks in tiles. Recommendations for the cutting process are based on the experience of thousands of craftsmen, it is not worth experimenting.
- Failure to comply with technology laying can lead to its chaotic arrangement, spoiling the whole impression of the work. It is necessary to approach the installation of the first row especially carefully. Small deviations of the lining from the horizontal level can lead to further distortions of the entire pattern.
Summing up
A job well done is always pleasing to the eye. And this is perhaps one of the main goals to strive for. Even rows of tiles, identical seams, a neat pattern will to delight you for many years.
Useful video
Watch the video, which shows a visual example of stove cladding, with explanations and tips.


Comments
It all looks so simple on video, but when you start doing it yourself, you realize that you simply don’t have enough skills.
And there are also some subtleties with cutting tiles. You can only cut tiles properly with a flat cutter, and not a simple Chinese one, but only a professional one.